Showing posts with label projects. Show all posts

Thursday, November 1

Mavry's Table

Colin made a wonderful tiny table and chair set for Mavry with significant help from his friend John Tan and his woodworking tools. 

In Montessori language, this is called the weaning table.  It is meant for first meals and for doing work, but we aren't feeding Mavry at her table.  She only eats with us at the regular table in her high chair. 


She can't get in her chair by herself yet, but I am trying to leave it out so that she can try it out some.  She can get down by herself, but I need to watch her to make sure she doesn't go head first.  So far, I have given her blocks and her egg and cup to work with at the table.  She also loves to walk around it. 

Wednesday, September 26

A Photo Book

I've been turning books in at the library the day after they're due (before the library opens, trying to get one extra night to finish them), calling in for an extension on my traffic ticket (the speed limit on our street is 25, which it turns out is slower than you would think), and doing projects at the last minute. 
This is one of them. 
I just finished this little book that I got as a free offer a few months ago, but tonight was the last night.  I actually had an hour and a half to spare before the offer expired once I finished!  Here's the result - not as lovely or descriptive as it could have been, but still a wonderful chance to look back on Mavry's almost 8 months of life outside the womb.

Click here to view this photo book larger
Create your own personalized photo books at Shutterfly.com.

Thursday, August 9

Simple Toys


Inspired by this set of toys, Colin and I made Mavry a few simple Montessori toys.  She has used the rattle for a while now since it has a narrow middle that she was able to grasp early when it was handed to her.  It's now in rotation in her toy baskets as well as the wooden interlocking discs, which were the second project that Colin finished when his dad came to visit.  I also made the wooden bead toy since it just required wooden beads and leather cord.  Mavry loves her wooden toys.  She can sometimes even be found gnawing on a leg of her tripod toy hanger!

The interlocking discs are a good toy to have available later when she starts doing more hand to hand transfer since she will have to think about how to rotate the toy to grasp the other disc.  Once Mavry can get to sitting position by herself, I'd like to introduce the other two toys: the peg in cup and egg in cup

Tuesday, July 31

Our Mei Tai Carrier

With friends at Greystone Mansion


For Mavry's first 5 months, we used a Moby style carrier and a ring sling that were really easy to make.  Mavry, at almost 6 months, is now about 17 pounds.  The (homemade) Moby still works for her, but it is a little saggy and kind of hot since there is so much fabric involved.  The ring sling was our go - to carrier for the past few months since it's so easy to put on, but since the weight rests on one shoulder, it was getting a little uncomfortable for times when we were out for a while in it.  

I started thinking about buying a soft structured carrier - especially the new Boba Air (it folds up into a small pocket and is relatively inexpensive).  Then I joined a meetup group for mamas and babies started by someone who was in my hypnobabies class.  One of the women in this group uses a Kozy carrier which is a mei tai style that has no buckles or snaps - it just has four long straps that tie.  I realized that I could make my own since the design is relatively simple.  I found these instructions (didn't follow them exactly, but they were very helpful) and I used mostly fabric that I already had on hand.  It only took two short evenings plus one morning nap time to make.  It feels so good to have Mavry's weight distributed on both my shoulders and waist, plus she can now ride on our back too!  Mavry is still getting used to the carrier, but she likes it.  We are experimenting with folding the bottom up so that she can have her hands free. 

Thursday, July 19

Puzzle Ball


I made this puzzle ball as a baby gift for a friend.

 And then I made one for Mavry. 

She is on her way to crawling.  She can scoot a little and she kicks one leg out to try to get somewhere when she sees something she wants.  This ball is good to encourage crawling because it rolls away, but not too far.

I followed these instructions to make the ball and included a jingle bell in the middle. 

Friday, June 29

Baby Wearing


We use two different kinds of carriers for Mavry.  The one we used the most at first was the Moby style wrap.  Our hypnobabies instructor recommended this one to us, so it was one of the projects I got done before she was born.  I went to the nearby discount fabric store (we are lucky to have a great one nearby) and bought 6 yards of thick, not very stretchy knit fabric.  I cut it in half lengthwise to make two 6 yard long by 30 inch wide strips and tapered the ends.  I serged the edges (I was lucky enough to borrow a friend's serger for this and a few other projects.)  I also downloaded and printed out the Moby instructions since this wrap takes a little getting used to.  After Mavry was born and we started using this wrap, we realized it would be helpful to know where the middle of the wrap is so I sewed a felt heart at the center of the length of the wrap. 


I think the Moby (whether you purchase the original or make your own) is the best for newborn babies.  It takes a little getting used to at first - you have to learn how to wrap it and wrap it around yourself tighter than you think before you put the baby in.  Even before we learned how to do it "right," Mavry would spend hours contentedly napping in there, which was so freeing for me.  It was usually Colin who used this one at first, and he loved the feeling of little warm Mavry sleeping on his chest.   This is how we took her to church in the first month or two and she usually slept the whole time, all snuggled up.  (People marveled that Colin would wear the baby in public, but he really loved it!)

While the Moby style is great, it does take a little time to wrap it around you and get all situated.  So, after Mavry was born, I looked into an easier way to wear her.  I found these instructions online to make my own Maya wrap.  (I think it's really great that they have these very thorough instructions to make your own on the same site where they sell them!)  I got 2.5 yards of cotton fabric (a long tail is nice to have for covering up on top when nursing) from the same favorite discount store and ordered a set of rings from here.  I bought the nylon ones because it said they are stronger, but if I were to make another one, I would get the aluminum ones because they are prettier.  The fabric I bought has a yellow and turquoise selvage edge that I really liked, so I decided not to hem it.  This made the project pretty easy - all I had to do was hem the cut end of the fabric and do some heavy zig zag stitching on the ring end. 

http://sphotos.xx.fbcdn.net/hphotos-ash3/543275_10151731881715125_2030107254_n.jpg

While we still use the Moby some, this Maya wrap style sling gets the most use these days.  If we are out and Mavry gets sleepy, some bouncing in this wrap (with the top pulled over her head for darkness) will usually put her to sleep pretty quickly.  If she's fussy at home, I'll put her in here and do whatever I need to do.  It's easy to get her in and out of this one, so sometimes she'll fall asleep in it and then I'll put her on her bed.  She is getting heavier and this puts all the weight on one shoulder though, so I have considered getting a soft structured carrier like the Boba, or Ergo, but we will probably just make do with what we have for a while as long as we don't go hiking or something!


Do you use a baby carrier?  What's your favorite?

Saturday, April 21

Grasping Mobiles

I asked Colin if he could make some Montessori toys for Mavry.  He has a few woodworking tools and wanted to do it, but always has so much in his "pile" (as I call it - I have a pile too!).  When his parents came into town, though, he solicited the help of his dad and they got two really wonderful things finished.  One of which is this toy hanger, inspired by the one at the Michael Olaf Store (a source worth checking out for Montessori toys, activities, and general information).  

They did a great job and I think they enjoyed working on it together.  It's beautiful, the height is adjustable, and it's something Mavry can use for a long time since it will make a fun little teepee and hiding place when she's older.  


We have hung a few different toys from it so far.  The bird toy was a hand-me-down and I attached a jingle bell and a wooden ring to lengths of ribbon with some elastic so she can bat at them and then pull on them when she learns how to grasp and hang on.  It's fascinating to watch her learn how to do all this!


Saturday, February 4

Projects for baby - side snap tees

Inspired by this:


I decorated these tiny snap tees:

I liked the idea of sewing buttons over the snaps.  On one, I sewed on wool circles to match these pants and hat.

Wednesday, January 11

Projects for Baby, Part Two

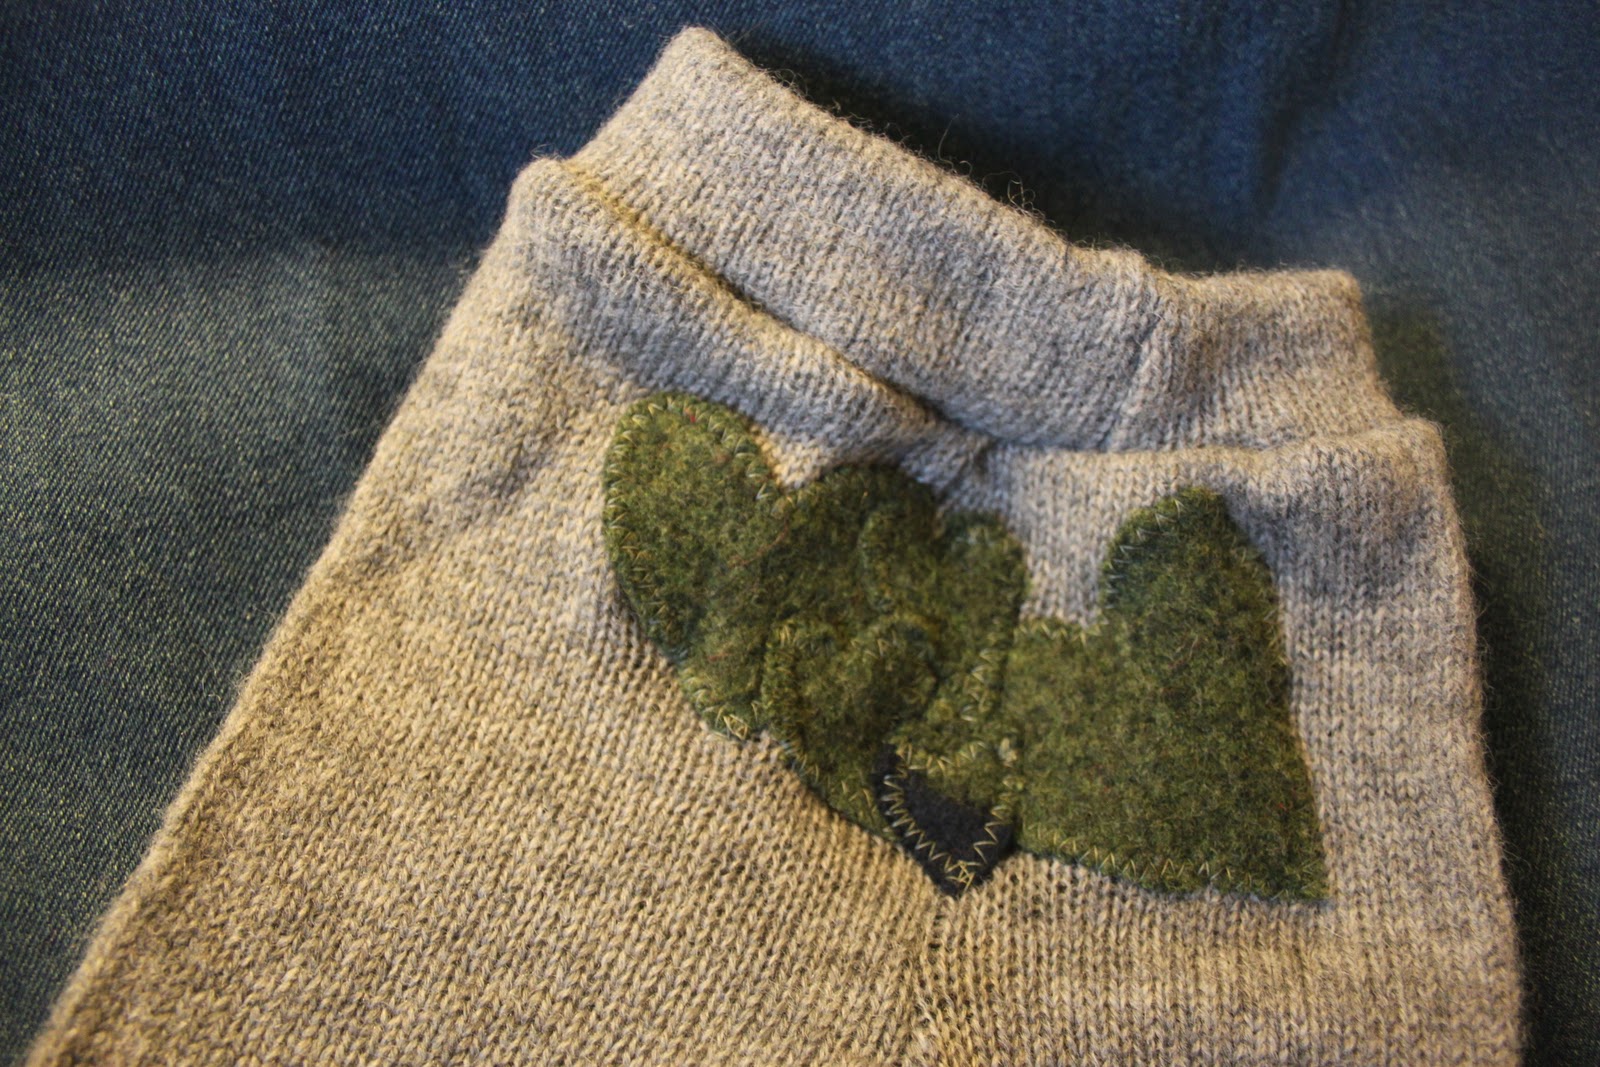
After the baby wipes were done (which took a lot of learning on the serger - mostly re-threading issues), I made a few pairs of baby pants (longies) from felted wool sweaters that I have in my stash.  I used the arms of the sweaters to give the pants nice edges on the legs, but mostly went by this tutorial and these patterns.  I plan to lanolize them so that they are easy to care for.  (I hear if you lanolize wool, you can just let them dry if they get wet and then re-wear, then you only have to wash them if they get dirty or start to smell.)


I also made hats from the snow pixie pattern found here a few weeks ago. I made one for Colin's brother's baby who we got to meet in Arkansas.  (They live in Finland, but Colin's whole family got together for the first time since our wedding for Christmas!)  The brown hat and pants set went to a friend who had a baby shower last weekend.  It was hard to part with because it was the softest one, but it was also the one with the best sewing lines!

Tuesday, January 10

Projects for Baby, Part One

I borrowed a serger from a friend and have been working on baby projects!

The first project I wanted to get done was finish the flannel wipes I cut out months ago.  (We're cloth diapering, so we are using cloth wipes too.)  I thought that cutting the edges with pinking shears would keep the edges from fraying, but after washing, I could tell that they needed to be hemmed or serged.  I wasn't about to take the time to hem them all and I was lucky enough to find a serger to borrow.  Yay!  (I have been inspired to use cloth instead of disposable things for a while.  We hardly use any paper towels at our place.  Here's another post I read recently about the topic.)


I also bought about 6 yards of knit fabric from the discount aisle of a local fabric store to make two moby style wraps. I just cut the fabric down the length and serged the edges all the way around.  No pics of that 'cause it's just a long piece of fabric - once baby comes, I'll post one!

Saturday, October 22

A Reupholstered Ottoman!

I have what feels like a million projects going right now, all in various stages of completion. Usually I like to get things finished, so I'm not sure what's gotten into me. So, it feels really nice to have this project done. Once I got everything I needed, I got it finished in an afternoon.

This is the original ottoman, from the '60s (it has a stamp on the bottom), halfway deconstructed. The big tear in the top is the why it needed new upholstery. It wasn't comfy anymore either since the cushion had disintegrated.

We got the foam at Joann's. It was precut to this size, which I thought was too big, but I ended up stapling it around the edges which changed the original shape. I almost cut it to perfect size, but realized later that probably wouldn't have worked, so I'm really glad I got it a little big!

I stapled the top cover on.

And I made my own matching cording to go around the edge for a more finished look.

I sewed the cording to the top of the bottom piece. (I made the bottom piece by sewing the four side pieces together.)

Then stapled the underside of the bottom piece. I ended up having to put a little glue under the top to get it to stay flat when I was finished.

I stapled all the parts that could be hidden.

And I finished off with the tacks from the old upholstery. I also added a little glue to make sure the corners stayed down because I didn't really leave enough fabric at the end.

Done! It's much more comfortable, I love the color, and there's not a huge tear in the top. Yay!
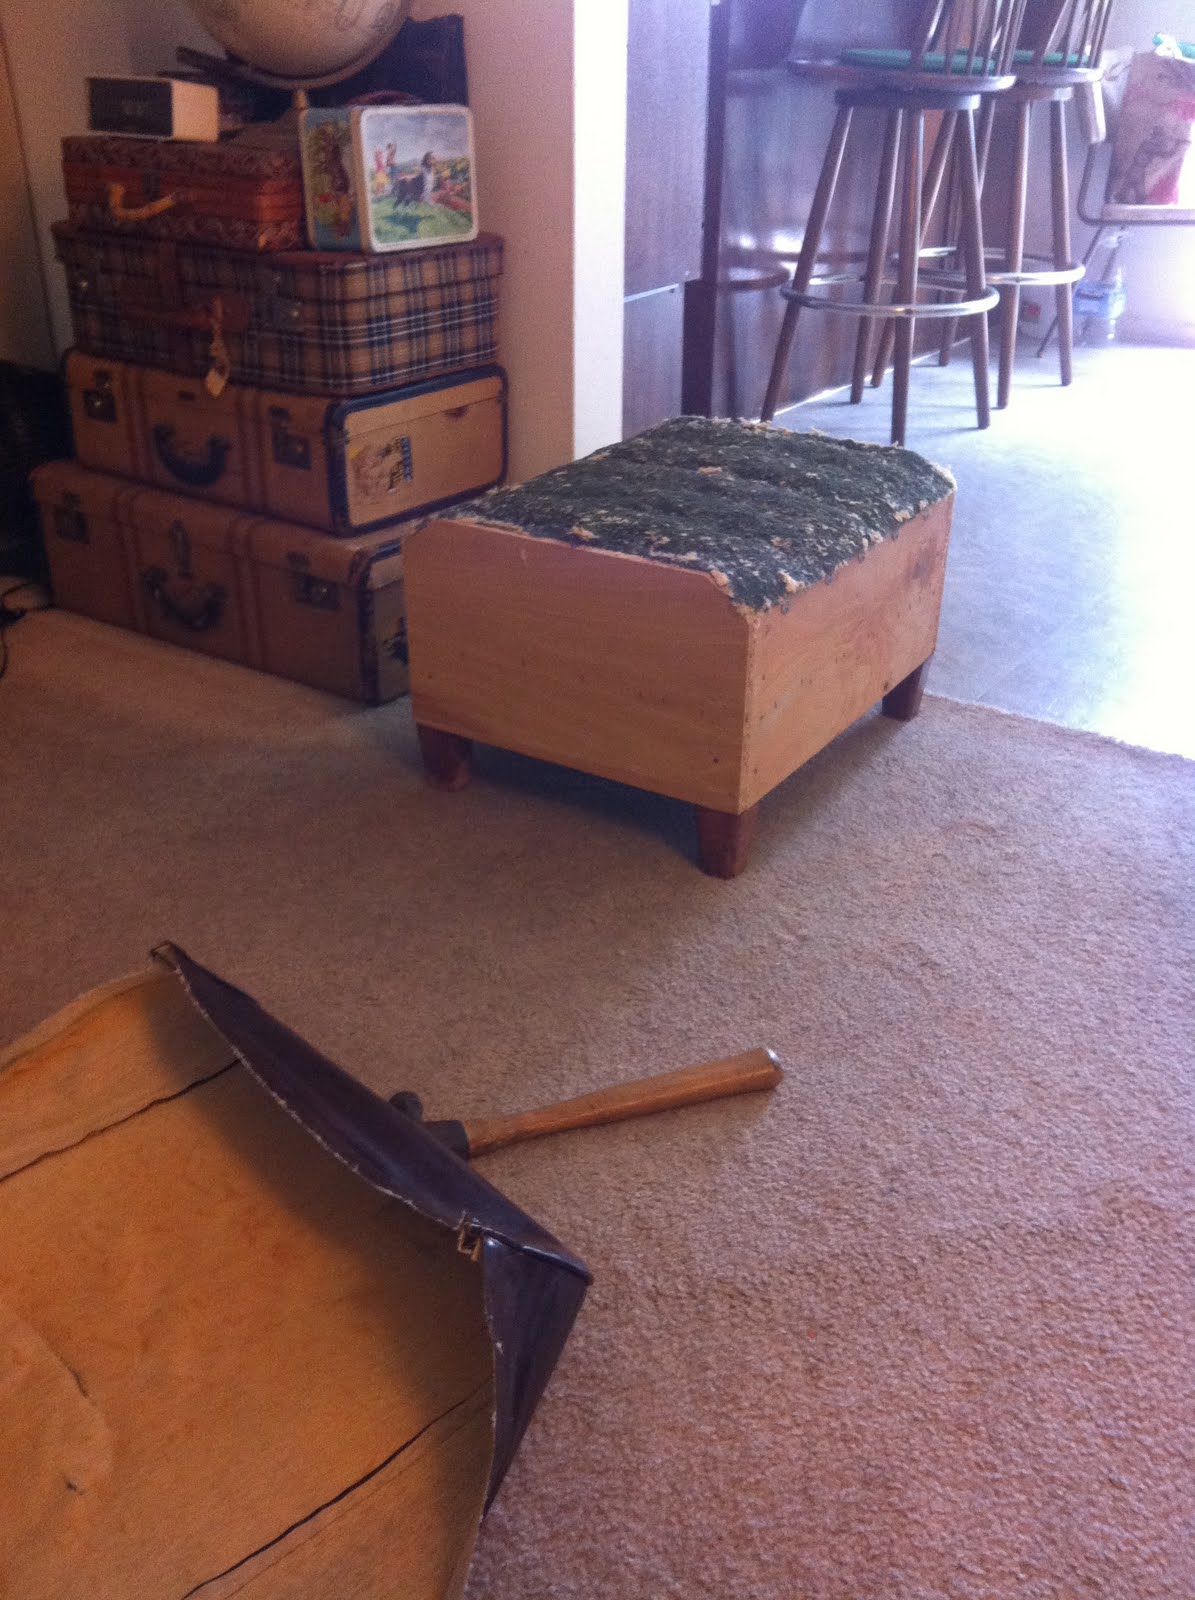
Next I may need to reupholster that chair, but I really love the fabric currently on it. It needs a new cushion and the fabric is not in very good shape.

Monday, October 17

Weekend Love


This weekend we ate leftovers, watched The Informant, went to an hors d'oeuvres party (yum!), started the process to recover an ottoman from Goodwill (that we've had for a year), attended (via Skype) the naming ceremony of Colin's brother's baby in Finland, went to our second Vineyard basics course at church, had lunch with new friends, went to a sale at a thrift store and got 21 pieces of clothing for $21.55 (including some tiny clothes for our little pumpkin, clothes to fit my growing belly, and a brand new winter coat for Colin!), started our hypnobabies class, and (despite not cooking a meal besides breakfast all weekend) only ate out once! A great weekend!

Friday, September 23

An ambitious project (for me)


My friends wanted covers made for these big cushions they've had in the closet for years. I kept telling them I was not the person for the job, but they kept asking me to do it. I finally told them I'd go fabric shopping with them (thinking they could get someone else to make the covers) but I ended up making them anyhow.

I'm really glad I did! It was my second time to install zippers, and it went pretty well. I am now officially in project mode - making Montessori baby mobiles and grasping toys, a rug made out of t-shirt strips, learning how to crochet (and re-learning how to knit, something I learned in China last year), and a few maternity things. I have much more on the list, but I think my eyes are bigger than my ability to finish. I am blaming this on two things - on Pinterest and on the fact that I'm having a baby.

Saturday, December 18

the sign


In the flurry of activity last week, Colin offered to help, so I asked him if he could make a sign for my booth. I told him what I had in mind and he said he could borrow a friend's jigsaw to make it happen. We got the plywood from a local store that was throwing it away. Colin spent most of the evening toiling away and made me an awesome sign.


I covered it in book pages and he hung it at my Renegade booth last weekend. Lots of people stopped just to take a picture of the sign!

Sunday, June 13

weekend...

Ah, another weekend gone so quickly!

Colin surprised me with a night out on Friday night. We enjoyed dinner at a vegan restaurant in Laguna Beach, a few minutes on the beach, and then the symphony in Costa Mesa! We got the cheapest tickets, which look over the back of the orchestra and provides an interesting view. It really is amazing to see all those instruments come together so smoothly and beautifully.

Tonight we met with the Korean couple who live directly above us for language exchange. I wasn't really looking forward to it, but it was pretty fun! The men met in our apartment and the women met in theirs. We spent half the time speaking in English and the next half speaking only Korean. If we keep it up, I think it might be my best language learning opportunity yet! They don't speak English well, so our default language is Korean. With all my other language partners, the opposite has been true, so I'm looking forward to seeing what progress I can make. I had sort of resigned myself to the fact that my Korean might not get any better, but now I'm a lot more hopeful that I can improve.

The other thing I got done this weekend is branch out a little on my Etsy shop. I was inspired with some of the vintage fabrics I found in the store I'm working at now to make some accessories to give discarded fabrics new life. I posted three new things on lelabela.etsy.com and am working on a few more: